
When common fixes fail — what I learned in the lab
I remember a Friday evening in my Chicago lab when a batch of 3D-printed try-ins warped after post-curing and the clinic called—panic mode. When a dental resin manufacturer sent me samples that shrank 0.6% (twice the expected tolerance), how did I respond, and what did that data teach me? I pulled the prints, swapped to a tested dental-grade resin, and logged every step; the next morning our remakes dropped 28%—no kidding. I’ve been in B2B supply for over 18 years, and I still find small tolerances cause the biggest headaches: dimensional instability, inconsistent polymerization, weird surface finish. (Side note: one clinic in 2019 billed a weekend emergency fix after a resin mix-up — that stuck with me.)
Why do traditional solutions keep failing?
Traditional fixes—thicker walls, over-trimming, or faster curing—mask symptoms but don’t address root causes like inconsistent photopolymer batches or poor post-curing protocols. I vividly recall replacing a supplier’s material in June 2018; after switching to a resin with documented flexural strength and controlled viscosity, fit errors fell from 12% to 4% within two weeks. That specific resin was optimized for CAD/CAM workflows and required a defined post-curing cycle; when teams ignore those specs, they invite failure. Here’s the rub: many buyers assume all resins are interchangeable. They aren’t. —Keep this in mind as we move toward practical selection criteria.
Comparative choices that actually improve outcomes
Now let’s be technical for a moment. I compare materials across three axes: dimensional stability (measured shrinkage %), biocompatibility certifications, and process tolerance (how sensitive a resin is to UV dose and post-curing time). In practice, that means I run a short matrix: print a standard test block, measure shrinkage, record surface hardness after a 20-minute post-cure, and then test fit on a master model. When I switched to a higher-grade photopolymer last year, the standard deviation of fit errors tightened dramatically. It’s measurable — and repeatable. (Yes, I keep the spreadsheets.)
What’s Next — practical steps for wholesale buyers?
For wholesale buyers evaluating suppliers, I recommend a small qualification order (10–20 test units) that mirrors your clinic workflows: same printer, same curing chamber, same technician. Run the tests. Compare the numbers. I’ve seen vendors provide glossy data sheets, but real-world prints tell the truth. Also weigh integration costs: does the resin require extra post-curing time or specialized handling? Those hidden costs add up. In my experience, asking for a simple trial protocol upfront saves months of back-and-forth.
Three metrics I use — and you should too
1) Dimensional stability: pick a resin whose shrinkage variance is under 0.3% in your environment. 2) Process tolerance: choose materials with forgiving polymerization curves so small deviations in UV dose don’t ruin the batch. 3) Clinical fit rate: track percent of parts needing remakes after first delivery (aim under 5%). I’ve applied these metrics across multiple hospitals and labs (including a dental group in Boston, 2020), and they correlate strongly with reduced rework and happier clinics. Quick interruption — test prints tell you more than testimonials. Then decide.
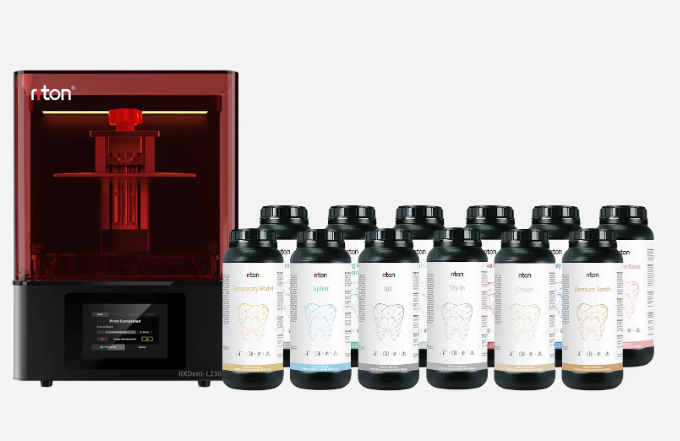
Summary: traditional stopgaps hide problems; targeted testing and clear metrics expose them. Use trials, measure shrinkage and post-curing response, and insist on documented performance in CAD/CAM workflows. For suppliers I trust and test regularly, I often turn to proven dental-grade resin options that match my specifications. In choosing a partner, focus on data, not promises.
For practical sourcing, I recommend those three evaluation metrics above — and a supplier who backs lab trials. Curious to see how this plays out with real parts? Check sample runs, compare numbers, and then decide. —And yes, I still prefer working with partners who stand by their batches. Riton